You're tired of sharing bit.ly/x7f9q2 links that look like spam.
You want something like go.yourname.com/podcast or clck.it.com/yourname/speaking - a branded link that actually represents your personal brand.
Good news: it's totally possible to create custom branded links yourself. Bad news: it requires some technical setup that most guides gloss over.
This guide walks you through the entire process - from buying a domain to setting up redirects to testing your links.
We'll cover the DIY approach (which takes 3-4 hours and costs about $50/year), then show you the done-for-you alternative if you'd rather not deal with the tech.
What Are Custom Branded Links?
Before we get into the how, let's clarify what we're actually building.
Generic short link:
bit.ly/x7f9q2
Custom branded link:
go.yourname.com/podcast
or
clck.it.com/yourname/speaking
The difference? Your brand is front and center. People see YOUR name before they click, which builds trust and increases click-through rates by up to 39% (according to multiple studies on link psychology).
Two types of custom branded links:
1. Your own domain: You buy a short domain and set up redirects
2. Premium shared domain: You use a service like clck.it.com that manages the domain for you
We'll cover both approaches.
Option 1: DIY Custom Branded Links (The Technical Route)
Here's what you'll need:
• A short domain ($10-50/year)
• A redirect script or link management tool
• About 3-4 hours for initial setup
• Basic comfort with DNS settings
Total cost: $10-50/year for the domain, plus $0-50/month for link management software (or free if you self-host)
Step 1: Choose and Buy a Short Domain (30 minutes)
Your custom domain needs to be SHORT. Nobody wants to type go.sarahchenexecutivecoaching.com.
Good options:
• go.yourname.com
• yourname.link
• yourname.co
• First initial + last name (.com, .co, .link)
Where to buy:
• Namecheap.com (best value, easy interface)
• GoDaddy.com (more expensive, but good support)
• Porkbun.com (cheapest, no frills)
Pro tip:
.com domains cost $10-15/year. New TLDs like .link or .click cost $15-30/year. Don't overthink it - just pick something short and memorable.
What to look for:
• 2-15 characters max
• Easy to spell
• Easy to say out loud (you'll be sharing this verbally)
• Not confusingly similar to an existing brand
Example:
If your name is Sarah Chen, good options would be:
go.sarahchen.com
s-chen.co
sarahchen.link
Buy the domain. Don't buy hosting yet - you don't need it.
Step 2: Set Up Your Redirect System (2-3 hours)
This is where it gets technical. You have three options:
Option A: Use a Link Management Tool (Easiest)
Tools like Rebrandly, Short.io, or Replug let you connect your custom domain and manage redirects through their dashboard.
How it works:
1. Sign up for the tool (Rebrandly, Short.io, etc.)
2. Add your custom domain in their dashboard
3. They give you DNS records to add
4. Copy those records into your domain registrar's DNS settings
5. Wait 24-48 hours for DNS to propagate
6. Start creating links through their dashboard
Cost: $14-50/month depending on the tool
Pros:
• No coding required
• Dashboard makes it easy to create/edit links
• Analytics included
• Support if something breaks
Cons:
• Monthly cost adds up
• You're dependent on their platform
• Limited customization
Option B: Self-Host a Redirect Script (Most Control)
If you're technical, you can host your own redirect script on a cheap server.
What you'll need:
• A server ($5-10/month - DigitalOcean, Linode, or shared hosting)
• A simple PHP or Node.js redirect script
• Comfort with FTP and basic coding
Example PHP redirect script:
<?php
$links = [
    'podcast' => 'https://yoursite.com/podcast-episode-123',
    'speaking' => 'https://calendly.com/yourname',
    'book' => 'https://amazon.com/your-book'
];

$slug = trim($_SERVER['REQUEST_URI'], '/');

if (isset($links[$slug])) {
    header("Location: " . $links[$slug], true, 302);
    exit;
} else {
    header("Location: https://yourname.com", true, 302);
    exit;
}
?>
Cost: $5-10/month for hosting
Pros:
• Complete control
• No monthly SaaS fees
• Can customize however you want
• You own everything
Cons:
• Requires technical knowledge
• You're responsible if it breaks
• No analytics unless you build it
• Security is on you
Option C: Cloudflare Workers (Advanced but Powerful)
Cloudflare Workers let you run serverless redirect code on Cloudflare's edge network. It's fast, cheap, and scalable.
What you'll need:
• Your domain on Cloudflare (free)
• Basic JavaScript knowledge
• Cloudflare Workers account (free tier: 100,000 requests/day)
Cost: Free for up to 100,000 requests/day (more than enough for most people)
Pros:
• Blazing fast (runs on Cloudflare's edge network)
• Essentially free
• Extremely reliable
• Scales automatically
Cons:
• Requires JavaScript knowledge
• No dashboard (you edit code)
• Learning curve if you're new to Workers
Step 3: Configure DNS Settings (15 minutes)
Regardless of which redirect method you choose, you'll need to update your domain's DNS settings.
If using a link management tool:
They'll give you specific DNS records to add. Usually looks like this:
• Type: CNAME
• Host: @ (or your subdomain)
• Value: their-server.rebrandly.com
If self-hosting:
• Type: A
• Host: @
• Value: Your server's IP address (like 192.168.1.1)
Where to update DNS:
Log into wherever you bought your domain (Namecheap, GoDaddy, etc.) and look for "DNS Settings" or "Advanced DNS."
Warning:
DNS changes take 24-48 hours to fully propagate. Be patient.
Step 4: Create Your First Links (10 minutes)
Once DNS has propagated and your redirect system is working, it's time to create links.
If using a tool like Rebrandly:
1. Log into dashboard
2. Click "Create New Link"
3. Enter destination URL: https://yoursite.com/podcast
4. Enter custom slug: podcast
5. Select your custom domain: go.yourname.com
6. Click Create
7. Your link is now live: go.yourname.com/podcast
If self-hosting or using Workers:
1. Edit your redirect mapping (PHP array, JavaScript object, or database)
2. Add new entry: 'podcast' => 'https://yoursite.com/podcast'
3. Save and upload
4. Test the link
Step 5: Test Everything (15 minutes)
Before you share your links publicly, test them:
1. Desktop browser test:
• Type your link into Chrome: go.yourname.com/podcast
• Does it redirect correctly?
• Is it fast (under 1 second)?
2. Mobile test:
• Text yourself the link
• Click it on your phone
• Does it work on both iOS and Android?
3. Edge cases:
• What happens if someone types go.yourname.com with no slug?
• What happens with a slug that doesn't exist?
• Make sure these redirect to your homepage (not a 404 error)
Pro tip:
Set up a default redirect to your main website for any slug that doesn't exist. This way, typos don't result in broken links.
The Problems with DIY Custom Links

Okay, I just walked you through the entire process. You can absolutely do this yourself.
But here's what most guides don't tell you:
Time investment:
• Initial setup: 3-4 hours
• Learning curve: 2-3 hours if you've never done DNS before
• Ongoing maintenance: 30-60 minutes per month
• Troubleshooting when things break: 1-4 hours per incident
Hidden friction points:
• DNS propagation delays (24-48 hours of uncertainty)
• SSL certificate issues (is your link https or http?)
• Server downtime (if self-hosting)
• Software updates and security patches
• No support when something breaks at midnight before your launch
The real cost:
If your time is worth $100/hour, that initial 4-hour setup just cost you $400 - plus $50-100/year in ongoing maintenance.
And that's IF everything goes smoothly. If you hit issues (wrong DNS records, redirect loops, SSL problems), you could easily spend 8-10 hours troubleshooting.
For some people, that's worth it. For others, it's not.
Option 2: Done-For-You Custom Branded Links (The Easy Route)
This is where services like Premier Link Studio come in.
How it works:
1. You claim your identity: clck.it.com/yourname
2. Email us when you need a link
3. We create it, test it, verify it works on all devices
4. You get a clean link back within 24 hours
No DNS setup. No redirect scripts. No troubleshooting. No maintenance.
Cost:
$497 setup + $147/month
What you get:
• Premium clck.it.com domain (cleaner than most custom domains people pick)
• 30 custom vanity links (/speaking, /podcast, /booking, etc.)
• 50 curated short links
• Human verification of every link
• Dedicated link manager
• Email-based updates (no dashboard to learn)
When this makes sense:
If you're an executive coach billing $300/hour, spending 4 hours setting up custom links costs you $1,200 in opportunity cost - plus ongoing maintenance.
The $497 + $147/month is cheaper than your time. And you don't have to worry about links breaking during your book launch.
When it doesn't make sense:
If you're just starting out, have more time than money, or enjoy technical projects - DIY is fine. Use Rebrandly for $14/month and learn the process.
Comparison: DIY vs Done-For-You
| Factor | DIY (Rebrandly) | DIY (Self-Hosted) | Done-For-You |
|---|---|---|---|
| Setup time | 2-3 hours | 4-6 hours | 0 hours (we do it) |
| Technical skill needed | Low (DNS only) | Medium-High | None |
| Monthly cost | $14-50 | $5-10 | $147 |
| Setup cost | $0 | $0-50 | $497 |
| Ongoing maintenance | You | You | Us |
| Support | Email (slow) | None | Dedicated manager |
| Reliability | Good | Depends on you | Excellent |
| Domain | Your choice | Your choice | clck.it.com (premium) |
| Best for | Small budgets, tech-savvy | Developers | Premium personal brands |
Common Mistakes to Avoid
1. Choosing a domain that's too long
Bad: go.sarahchenexecutivecoaching.com
Good: go.sarahchen.com or s-chen.co
2. Not testing on mobile
Most of your audience will click links on their phone. If it doesn't work on mobile, it doesn't work.
3. Using 301 permanent redirects instead of 302 temporary
Use 302 redirects so you can change where the link points later. 301 redirects get cached by browsers and are harder to update.
4. No fallback for invalid slugs
If someone types yourlink.com/typo, it should redirect to your homepage - not show a 404 error.
5. Forgetting to renew your domain
Set a calendar reminder 30 days before your domain expires. Losing your domain means all your links break.
6. Not having a backup
Keep a spreadsheet of all your link mappings. If your server dies or your tool goes down, you need to be able to rebuild quickly.
The Bottom Line

Creating custom branded links yourself is absolutely doable. It takes 3-4 hours, some technical comfort, and ongoing maintenance - but it works.
For many people, especially those just starting out, DIY is the right call. Tools like Rebrandly make it relatively painless, and the $14/month cost is reasonable.
But if you're a high-status personal brand charging premium rates, ask yourself: is your time worth more than $147/month?
Because every hour you spend troubleshooting DNS records is an hour you're not spending with clients, creating content, or building your business.
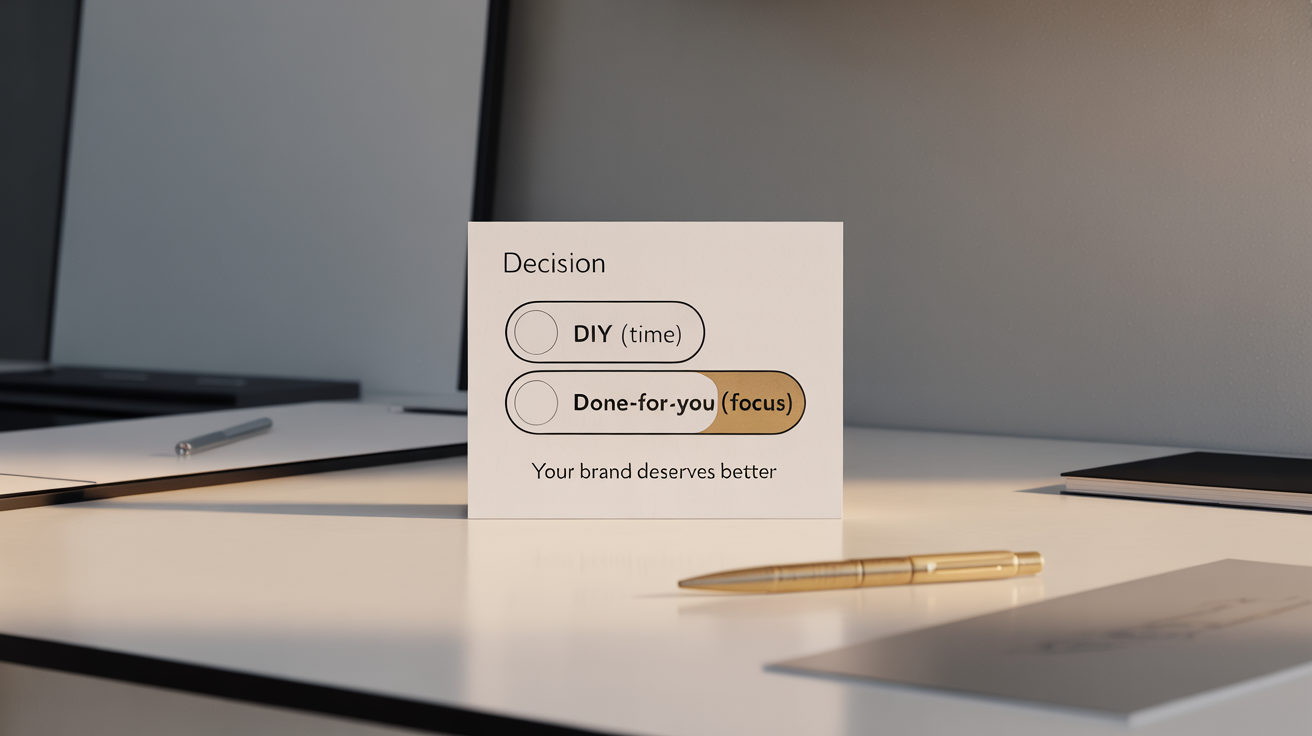
DIY if:
You're technical, enjoy learning, and want to save money
Done-for-you if:
Your time is valuable, you want premium positioning, and you'd rather focus on your business
Either way, stop using generic link shorteners. Your brand deserves better than bit.ly/x7f9q2.
Ready to upgrade your links?
For DIY:
Start with Rebrandly's free plan and learn as you go
For done-for-you:
See if your clck.it.com identity is still available
Only 10,000 identities will ever exist.
